
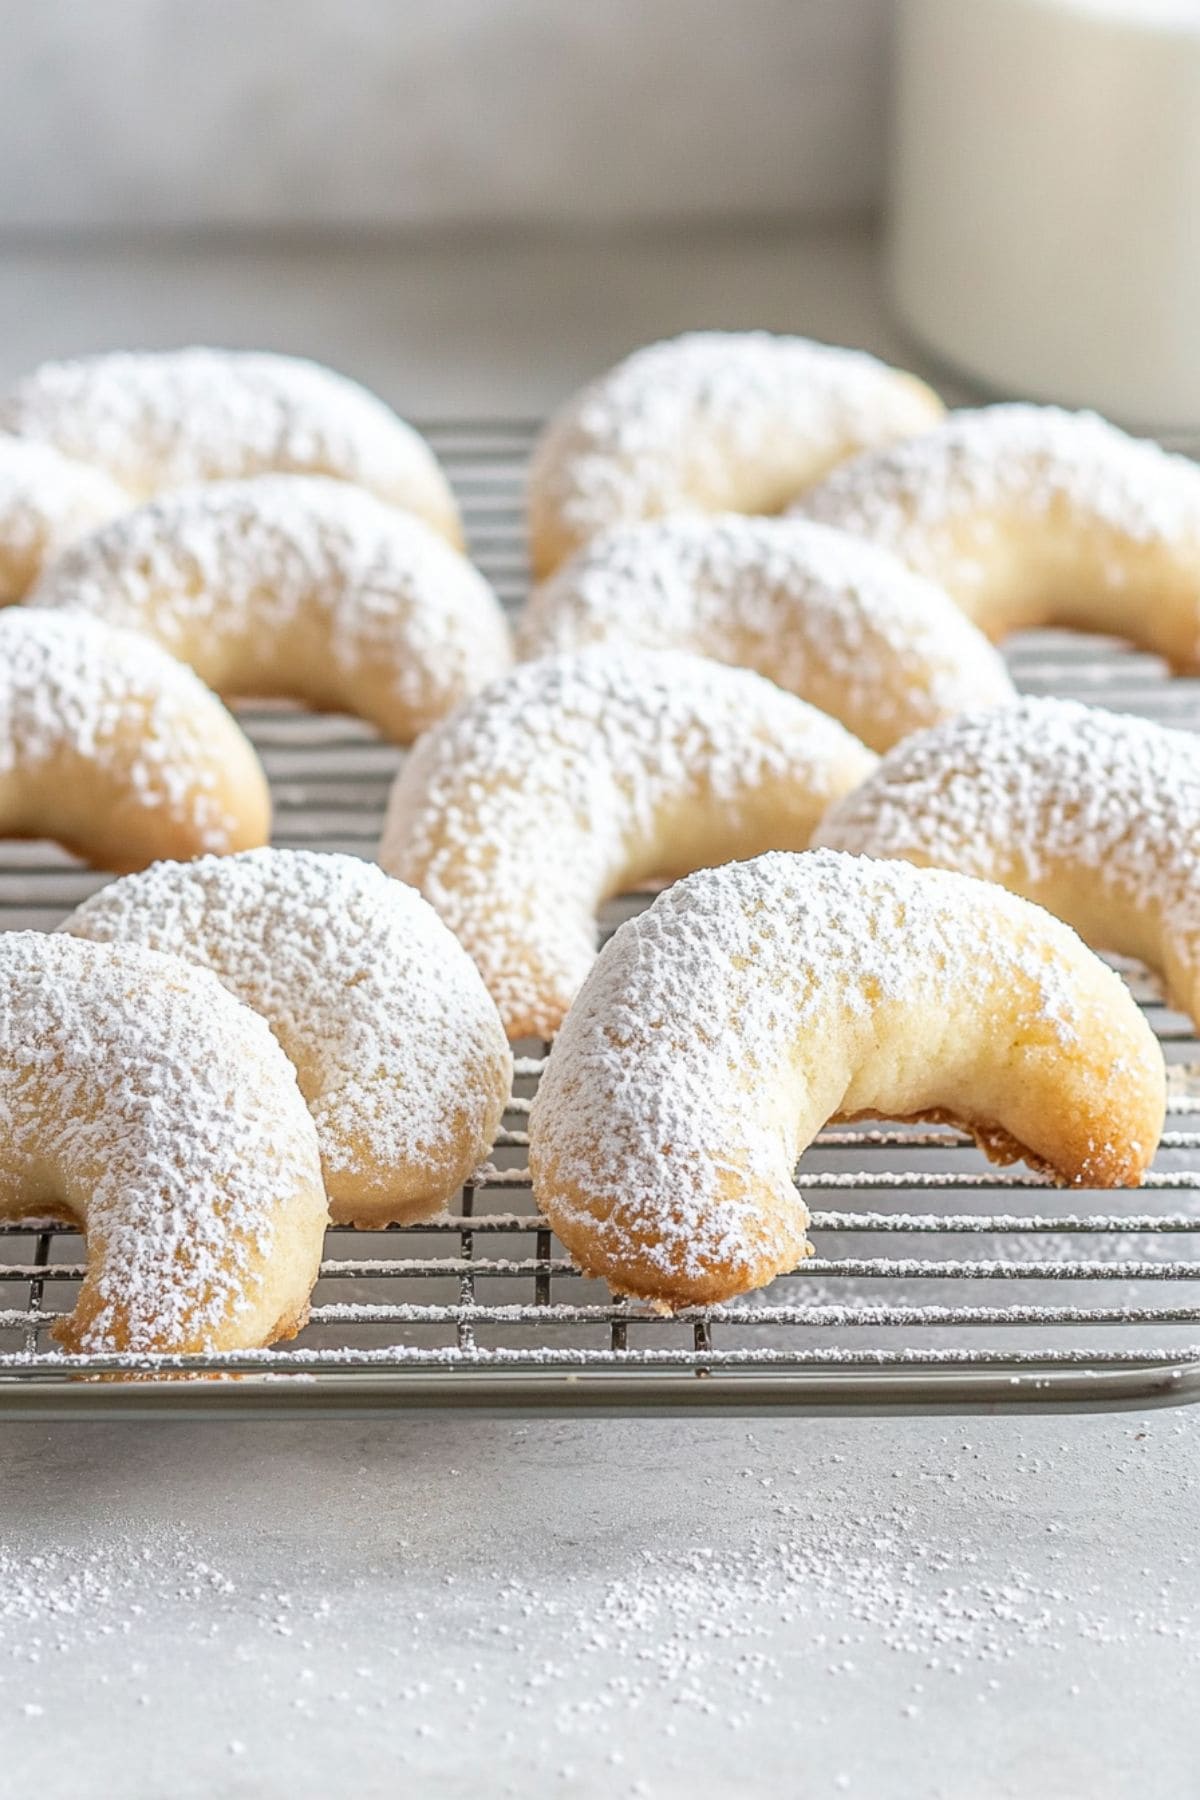
These almond crescent cookies are buttery, nutty, and melt-in-your-mouth delicious!
They’re a traditional Austrian treat often made and served around the holidays.
Dusted with powdered sugar, you can see what makes them so festive! But with that buttery taste, you’ll crave them year round.
They’re a sweet, simple treat that’s always a crowd favorite. So what are you waiting for? Let’s get baking!

WANT TO SAVE THIS RECIPE?
Enter your email below & we’ll send it straight to your inbox.
Why You’ll Love These Almond Crescent Cookies
Irresistibly Nutty Flavor: Between the almond extract, almond flour, and finely chopped almonds, every bite is a nut lover’s dream. Incredible Soft Texture : The dough is similar to shortbread, so it’s super moist and practically dissolves on the tongue. Simple Ingredients: You don’t need any fancy ingredients for this cookie recipe. Easy to Make: If you have a hand mixer, you can have these ready in no time. In fact, you can even make them with a wooden spoon!

Ingredients
Unsalted Butter: Adds richness and ensures a tender, buttery crumb.
Powdered Sugar: Sweetens the dough while keeping the cookies soft and delicate.
Egg Yolk: Binds the ingredients and gives the cookies a rich, golden color.
Vanilla Extract: Enhances the overall sweetness with a warm, aromatic flavor.
Almond Extract: Boosts the almond flavor for an extra nutty kick.
Salt: Balances the sweetness and deepens the flavors.
All-Purpose Flour: Forms the structure of the cookies, keeping them light and crisp.
Almond Flour: Gives a rich, nutty flavor and soft texture to the cookies.
Finely Chopped Almonds (optional): Adds a bit of crunch and deepens the almond flavor.
How to Make Almond Crescent Cookies
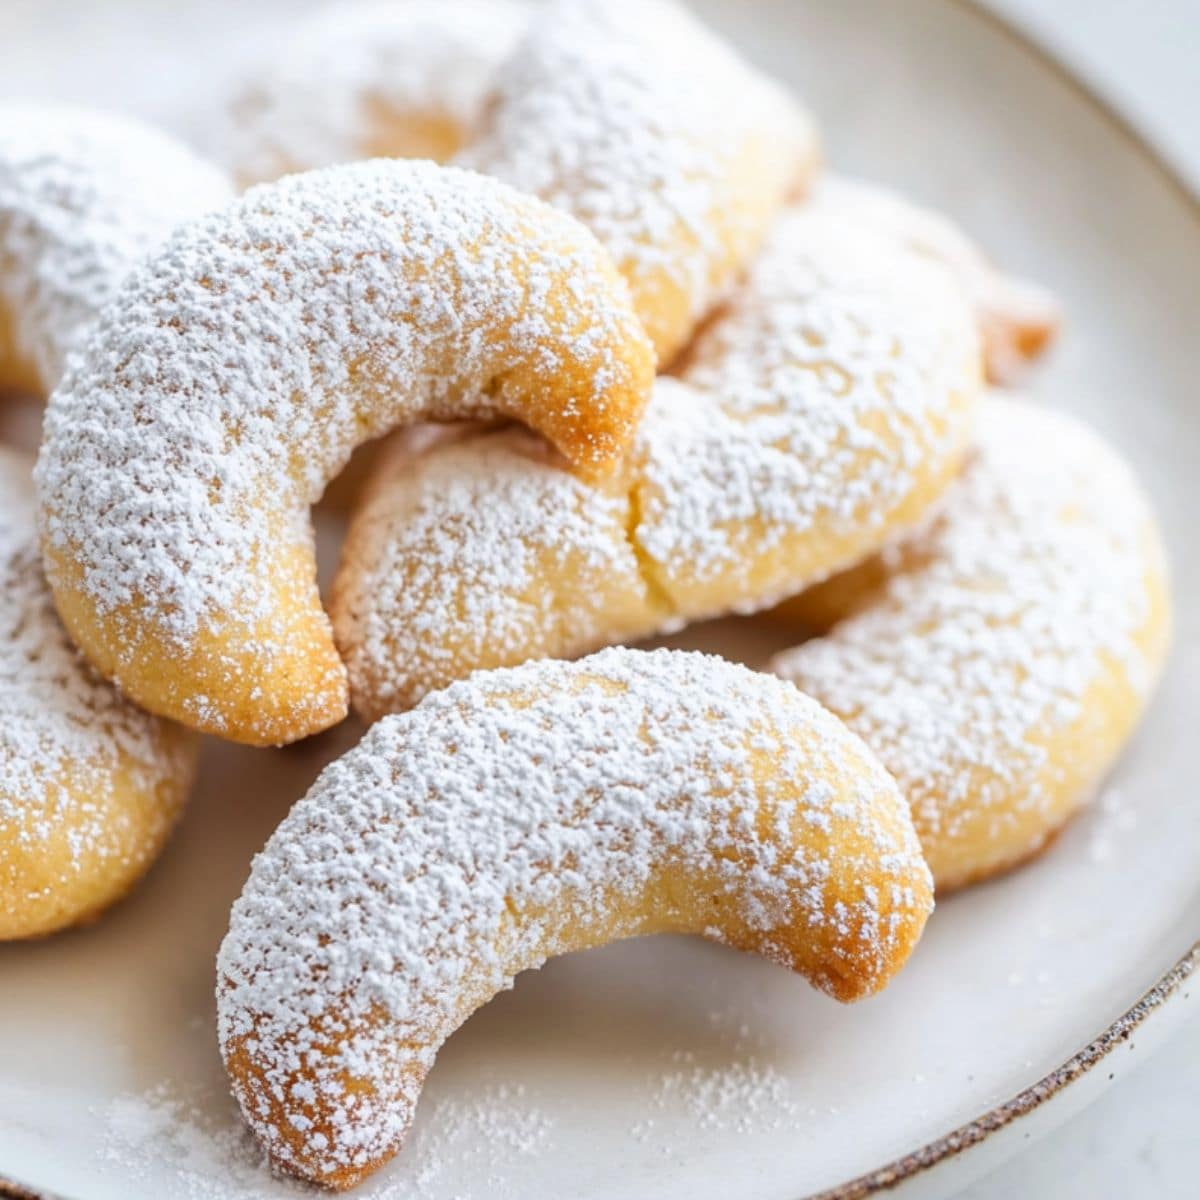
Also known as Vanillekipferl , these cookies have been a cherished part of holiday traditions across Austria, Germany, and neighboring countries for generations.
Their distinctive shape is said to symbolize the Turkish crescent moon, commemorating a historic victory at the Battle of Vienna in 1683.
And with just one bite, you’ll be transported to a cozy Christmas market in the heart of Europe.
Here are the steps:
- PREHEAT the oven to 325°F and line a baking sheet with parchment paper. 2. BEAT the butter and 2/3 cups of powdered sugar on low until combined. Increase speed to medium and beat until light and fluffy. 3. BLEND in the egg yolk, vanilla, almond extract, and salt at low speed. 4. MIX 2 cups of flour and almond flour in by hand until just combined. Stir in the chopped nuts, if using. Add more flour as needed until the dough holds its shape when pressed. 5. SCOOP 1 1/2 tablespoon portions of dough, shape into crescents, and arrange on the baking sheet with 1-2 inches between them. 6. BAKE for 12-14 minutes, until the edges just start to turn golden brown. 7. COOL the cookies on the baking sheet for 5 minutes before transferring them to a wire rack. 8. ROLL the warm cookies in the remaining powdered sugar. Enjoy!
Tips For the Best Almond Crescent Cookies
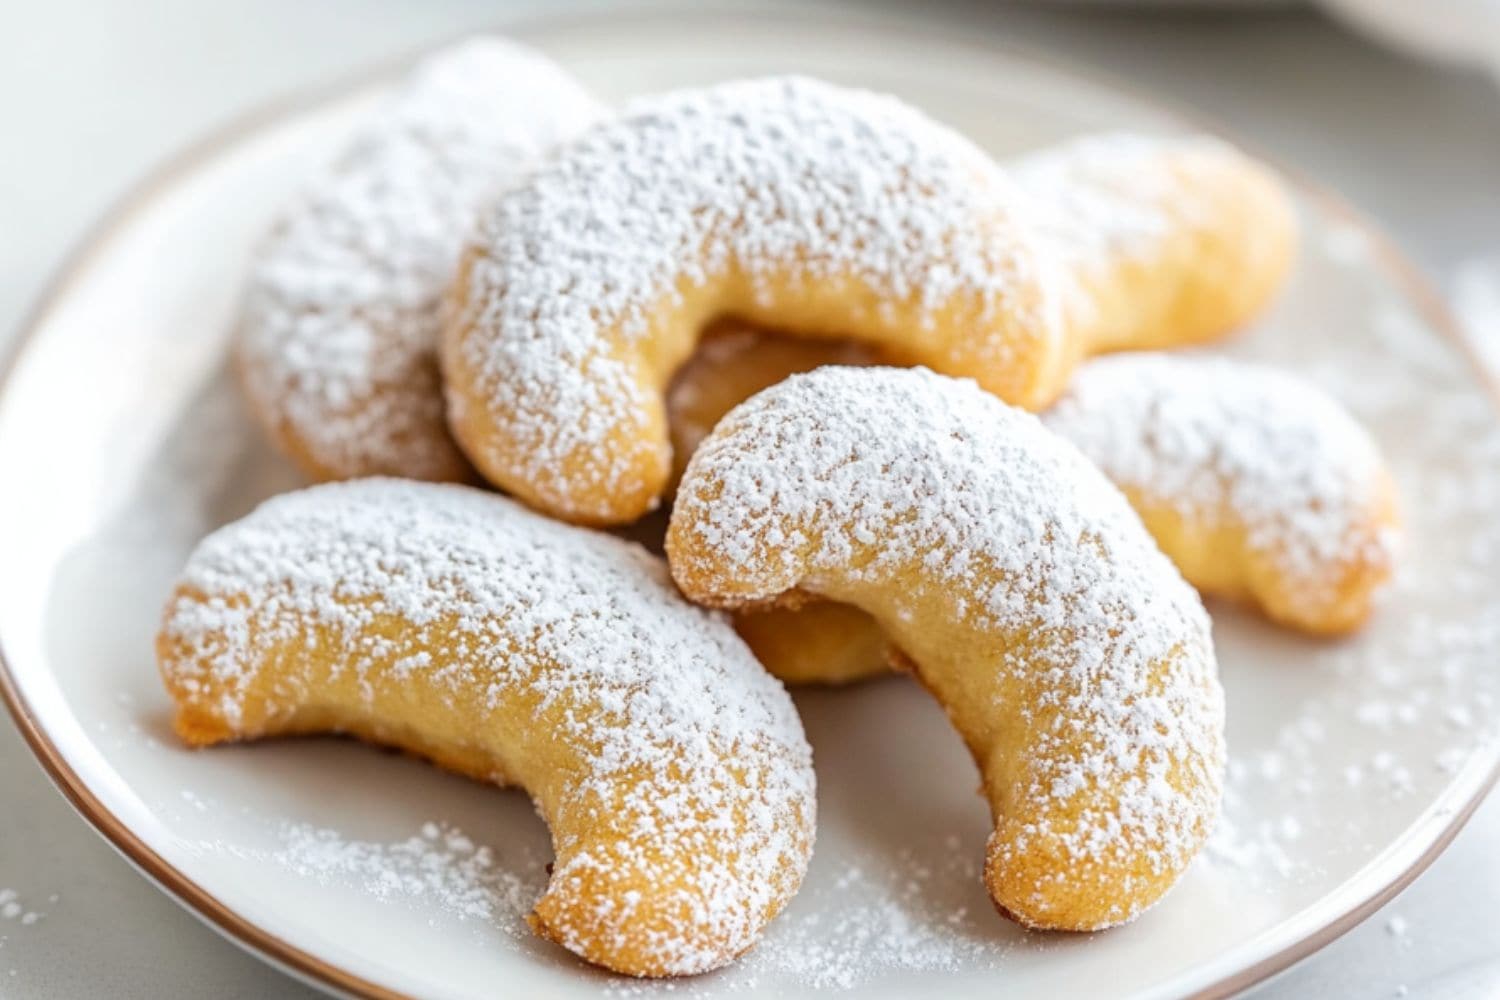
These cookies are perfect for sharing with friends over a cup of coffee or as a sweet treat to enjoy on your own.
And thanks to these tips, they’ll be flawless every time!
Room-temperature ingredients. Remove chilled ingredients from the fridge 20-30 minutes early for easier mixing and better texture .
Precise measurements. Spoon the flour into the cup and level it off with a knife so you don’t get too much.
Gentle mixing. Combine the flour by hand just until it’s crumbly and holds its shape. If you mix it too much (into a smooth ball), the cookies won’t have the same melt-in-your-mouth texture.
Chill the dough. If the dough seems too warm, refrigerate the shaped cookies for 20-30 minutes (covered). This will also help prevent too much spreading.
Careful baking. Watch the cookies closely near the end of baking time to avoid over-browning. They can quickly go from perfect to overdone.
Flavor variations. Experiment with different nuts, such as pecans or walnuts, or add citrus zest for a twist on the classic recipe. For enhanced flavor, toast the chopped almonds before adding them to the dough.
How to Store
Once you try these cookies, you’ll understand why they’ve been cherished for generations.
Luckily, they store well, so you can make double!
To Store: Keep the cookies in an airtight container at room temperature for up to 3 days or in the fridge for up to a week. Dust with more powdered sugar, as needed, before serving. To Freeze: Flash freeze unbaked or baked (uncoated) cookies until solid, then transfer to a freezer bag for 2-3 months. Bake from frozen with an extra minute or 2 of baking time. Thaw baked cookies on the counter and dust with powdered sugar to serve.
More Buttery Cookies You’ll Love
Black and White Cookies Thumbprint Cookies Lemon Sugar Cookies Coffee Cake Cookies
Almond Crescent Cookies
30
15
14
134
These almond crescent cookies are buttery, nutty, and melt-in-your-mouth delicious! They’re a sweet, simple treat that’s always a crowd favorite.
Ingredients
- 1 cup unsalted butter, softened
- 2 2/3 cups powdered sugar, divided
- 1 egg yolk
- 1/2 teaspoon vanilla extract
- 1/4 teaspoon almond extract
- 1/4 teaspoon salt
- 2-3 cups all-purpose flour
- 1 cup almond flour
- 1/2 cup finely chopped almonds, optional
Instructions
- Preheat the oven to 325°Fahrenheit and line a baking sheet with parchment paper.
- In a large bowl, beat the butter and 2/3 cups of powdered sugar on low until combined. Increase the speed to medium and beat until light and fluffy.
- Reduce the speed to low and blend in the egg yolk, vanilla, almond extract, and salt.
- Add 2 cups of flour and the almond flour and mix by hand until just combined. Stir in the chopped nuts, if using. Add more flour, a little at a time, as needed. It should be quite crumbly but hold its shape when pressed in your palm.
- Scoop the dough into 1 1/2 tablespoon portions. Press and shape into crescents, then arrange on the baking sheet with 1-2 inches between them.
- Bake for 12-14 minutes or until the edges just start to turn golden brown.
- Allow the cookies to cool on the baking sheet for 5 minutes. Then, carefully transfer them to a wire rack.
- While the cookies are still warm (not hot), gently roll them in the remaining powdered sugar. Once completely cooled, dust them with additional powdered sugar if desired. Enjoy!
Notes
Don’t overmix the dough. Mix just until the ingredients are combined but still quite crumbly.
Spoon the flour into the cup and level it off with a knife so you don’t get too much.
Share on Facebook
Share on Pinterest

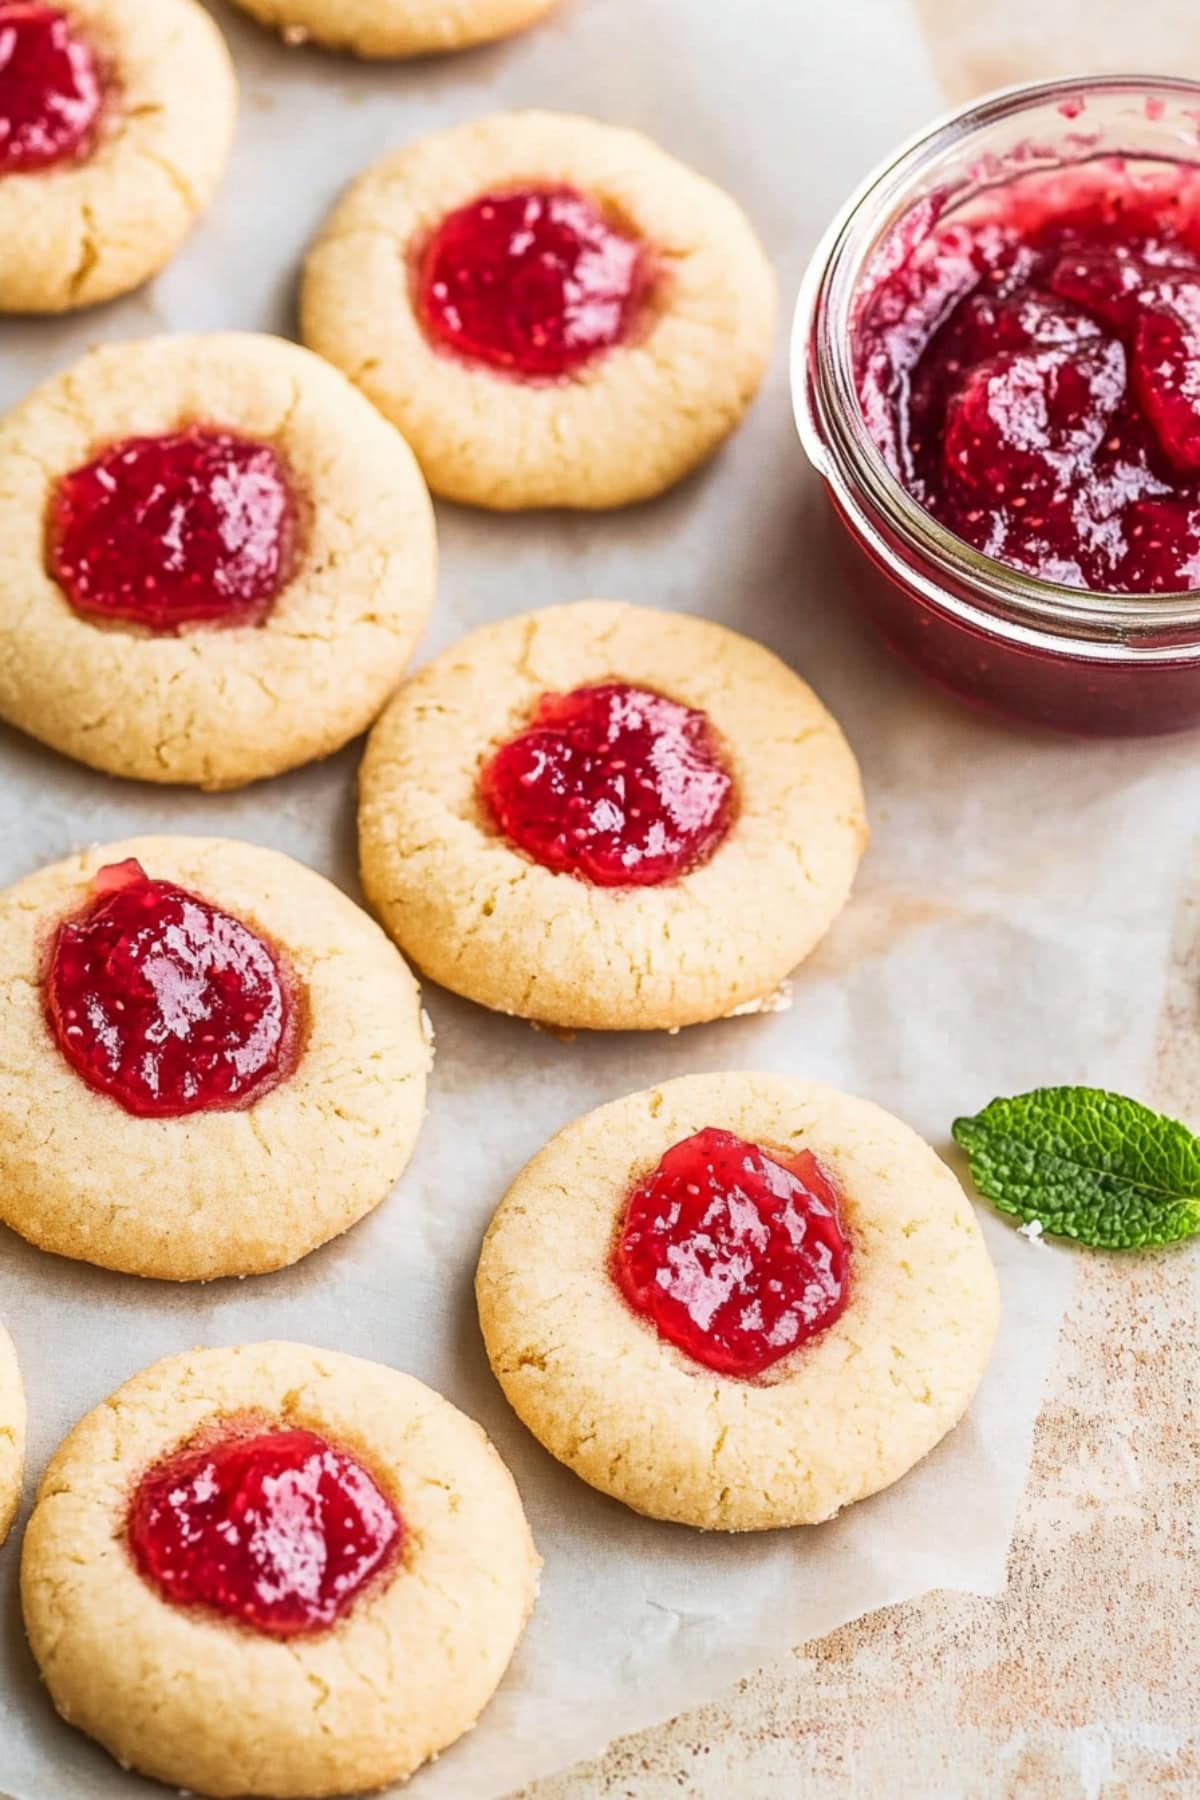
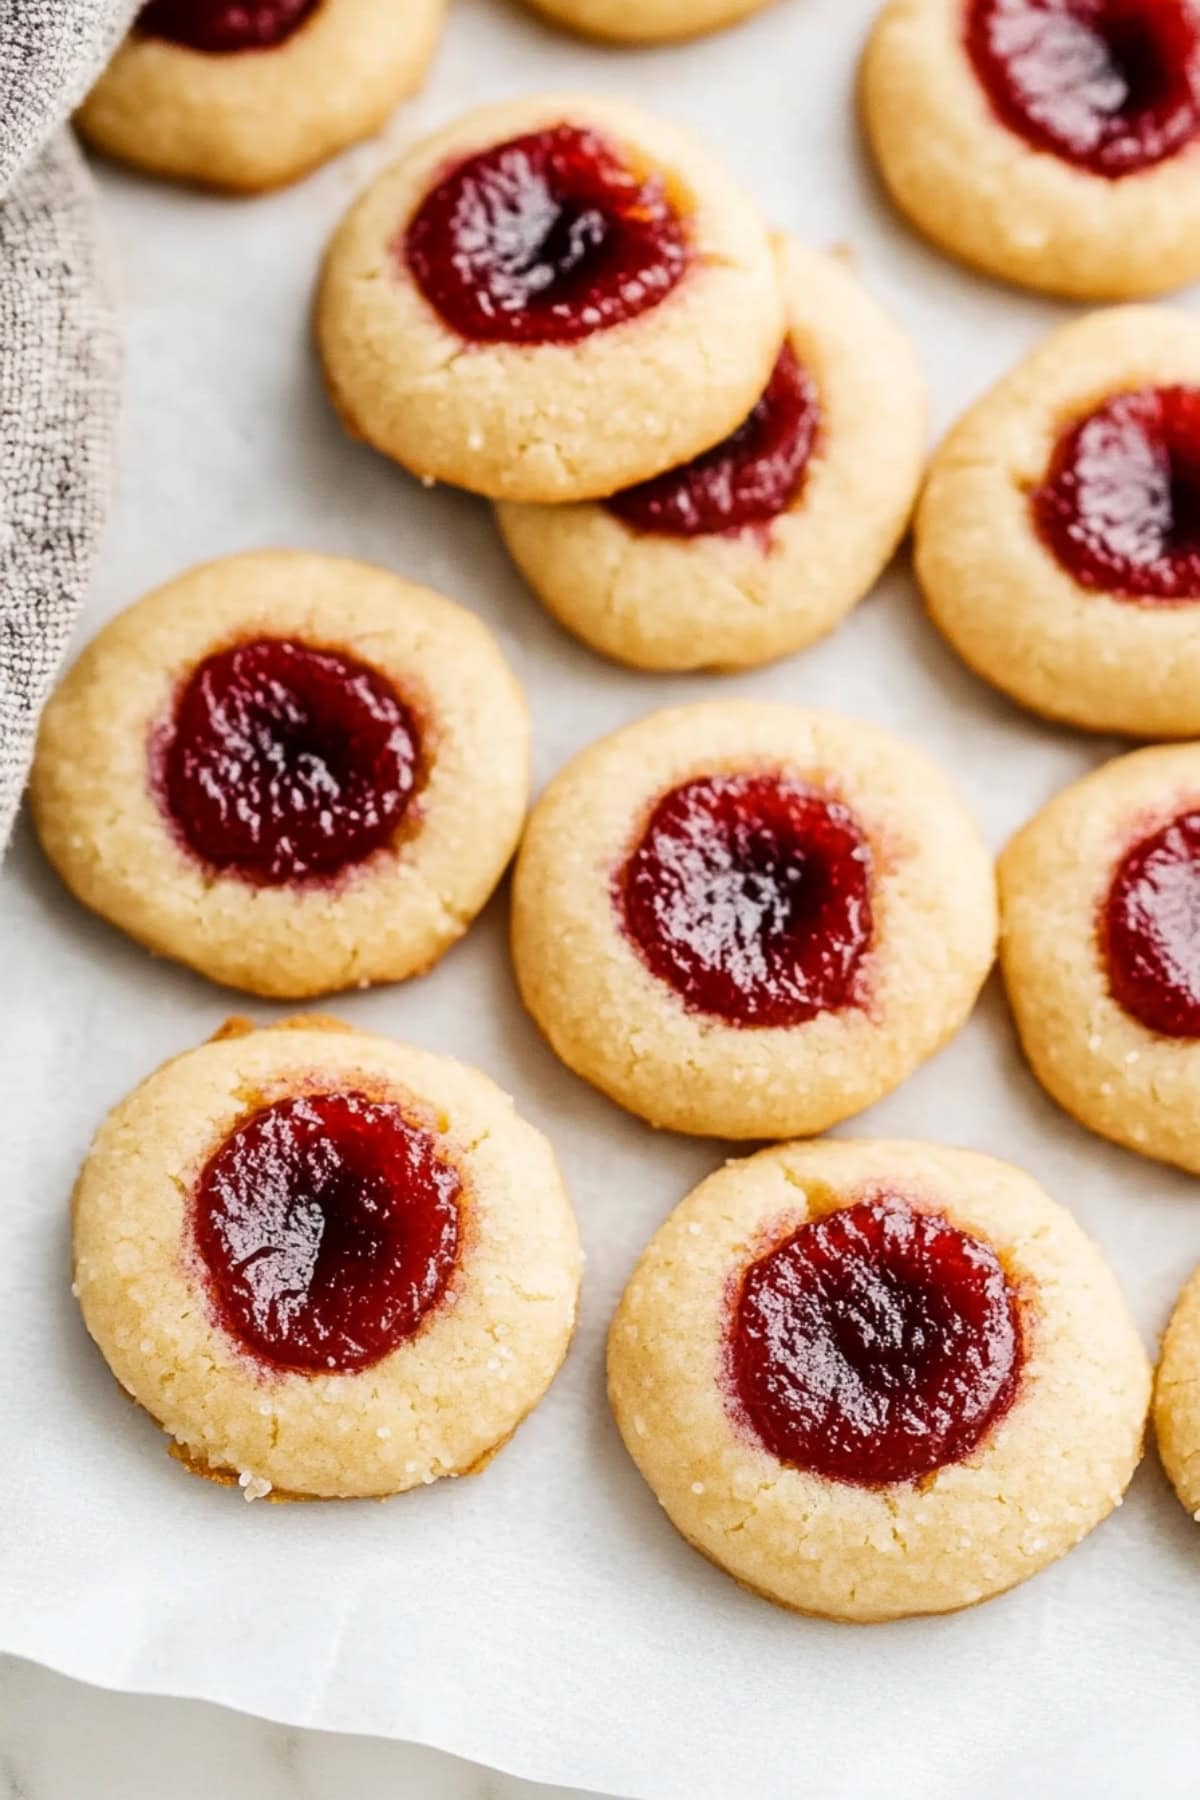
Looking for a buttery, melt-in-your-mouth treat to induce all kinds of nostalgia? These thumbprint cookies are just the thing.
They’re the perfect blend of sweet and fruity and an irresistible addition to any dessert table.
They feature crisp, golden edges and soft centers filled with your favorite jam.
They’re the kind of classic cookies your gramma and great-aunts used to make. And I am 100% here for them!
WANT TO SAVE THIS RECIPE?
Enter your email below & we’ll send it straight to your inbox.
Why You’ll Love These Thumbprint Cookies
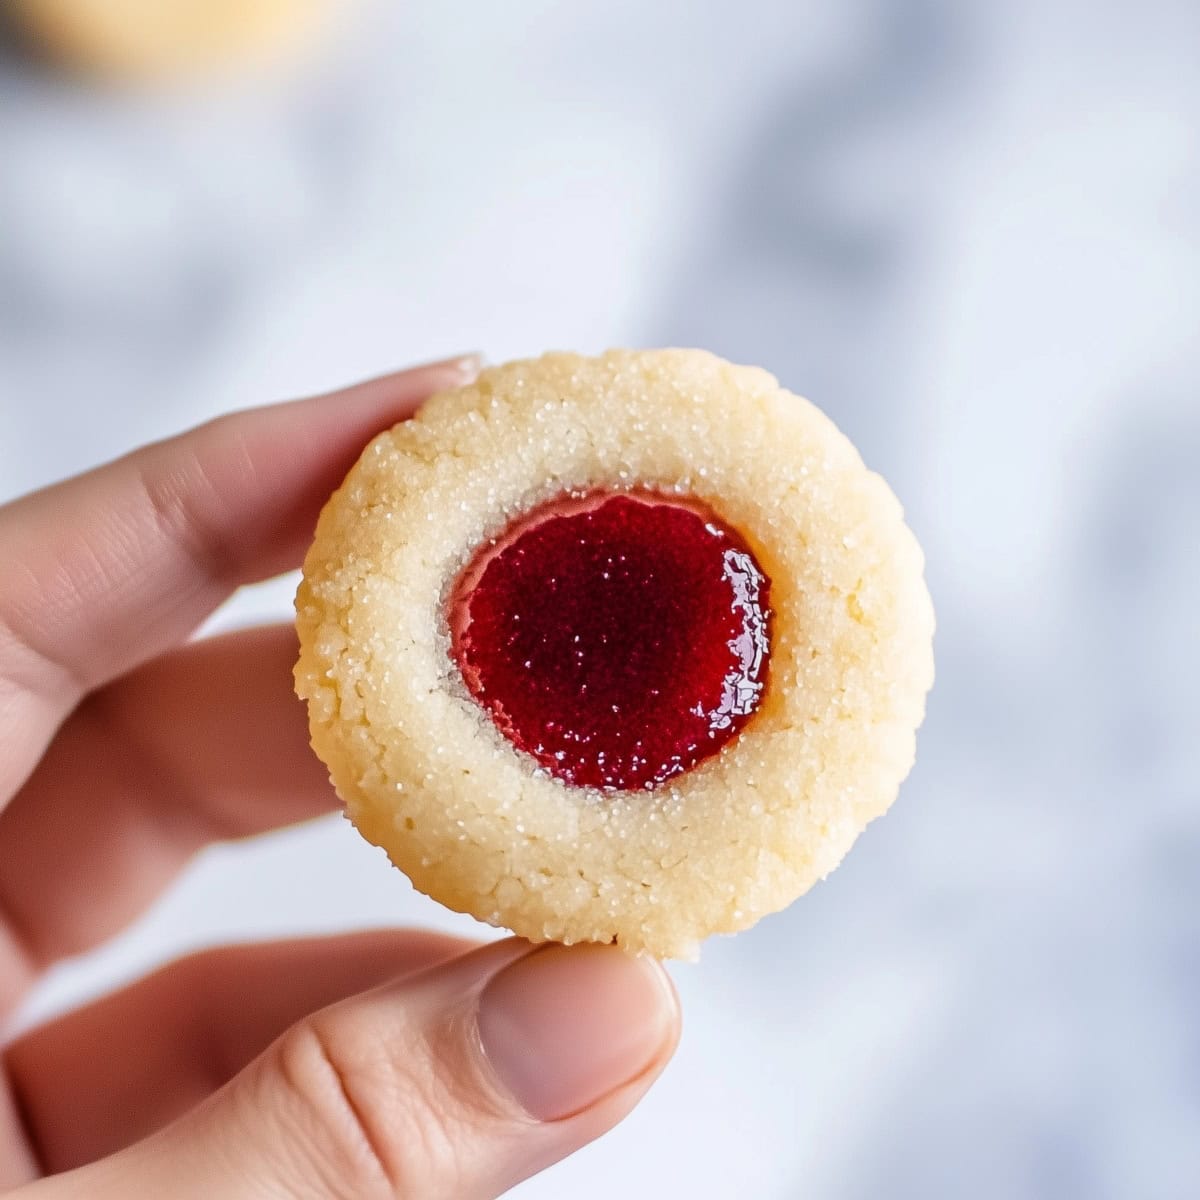
Customizable: Strawberry jam, grape jam, apricot jam – use any flavor you like! Tender Texture: You’ll love the buttery, crumbly cookie base almost as much as the jam-packed center. Together, the two make a sweet, warm, and fruity harmonious blend of flavors. Aesthetic Appeal: The vibrant, jam-filled centers are eye-catching, making them excellent for gifting.
Ingredients
All-Purpose Flour & Cornstarch: The cookie dough’s foundation. They offer structure and texture.
Salt & Vanilla Extract: Simple but powerful flavor enhancers.
Granulated & Light Brown Sugar: For depth, sweetness, and flavor. The brown sugar also makes the cookies nice and chewy.
Unsalted Butter: Avoid margarine and stick to the real thing here. It gives the cookies their warm, buttery taste.
Large Egg Yolk: Just the yolk! It holds everything together and makes the cookies much more tender.
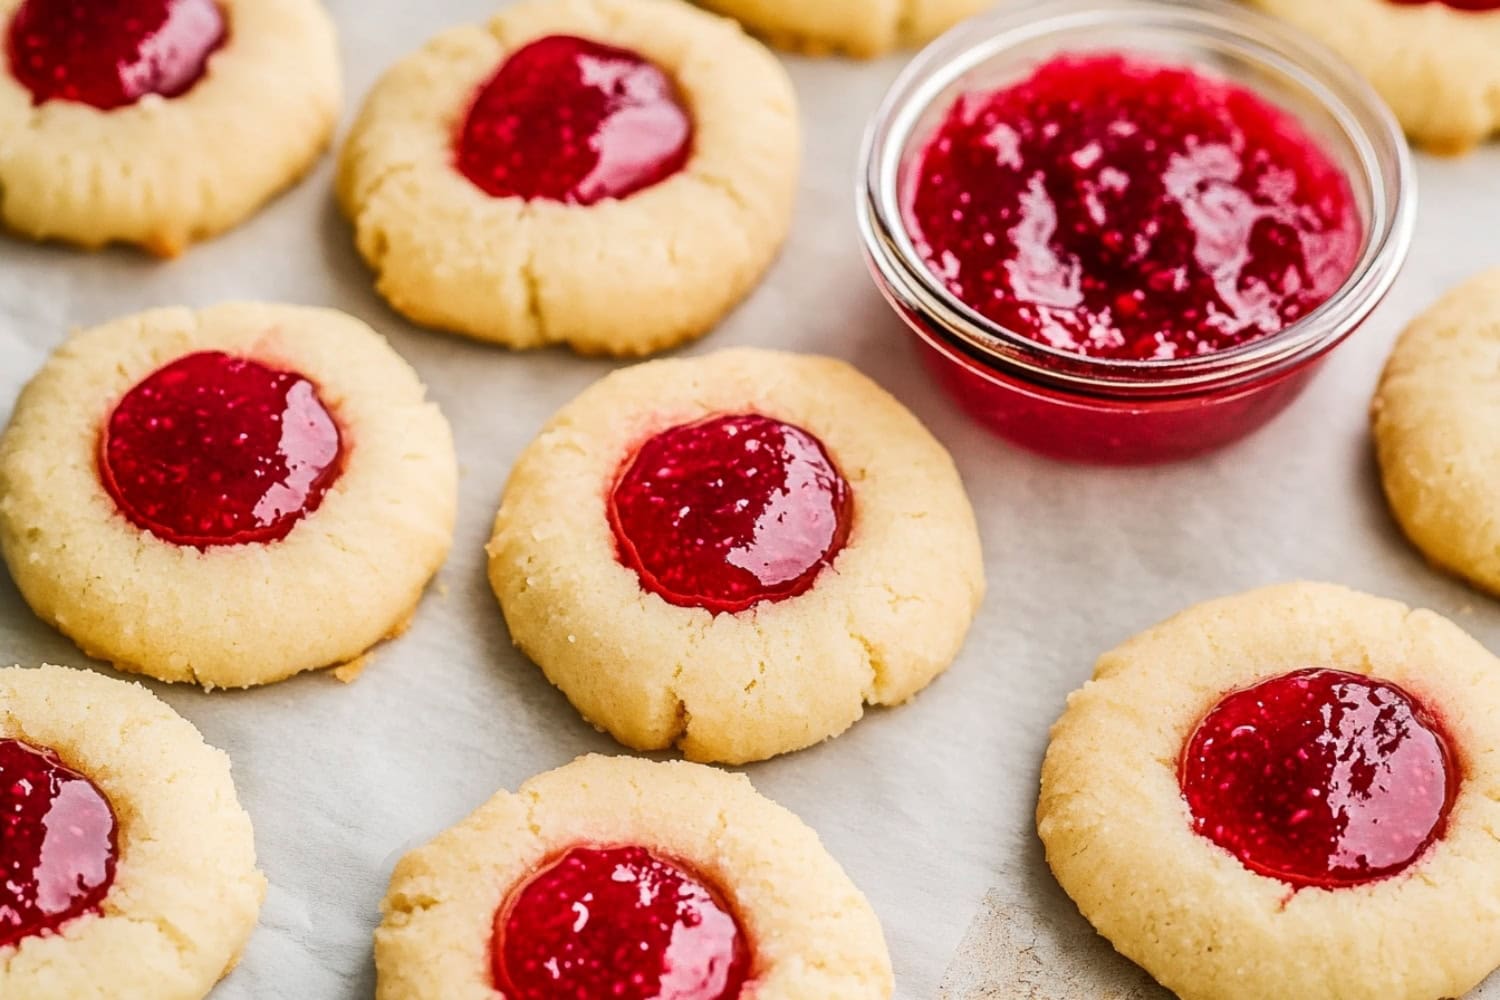
Jam: The colorful star of the show. It fits snugly into the center of each cookie for a bright burst of fruity sweetness. Use your own favorite jam recipes . Or for something truly unique and slightly savory, try this bourbon bacon jam .
How to Make Thumbprint Cookies
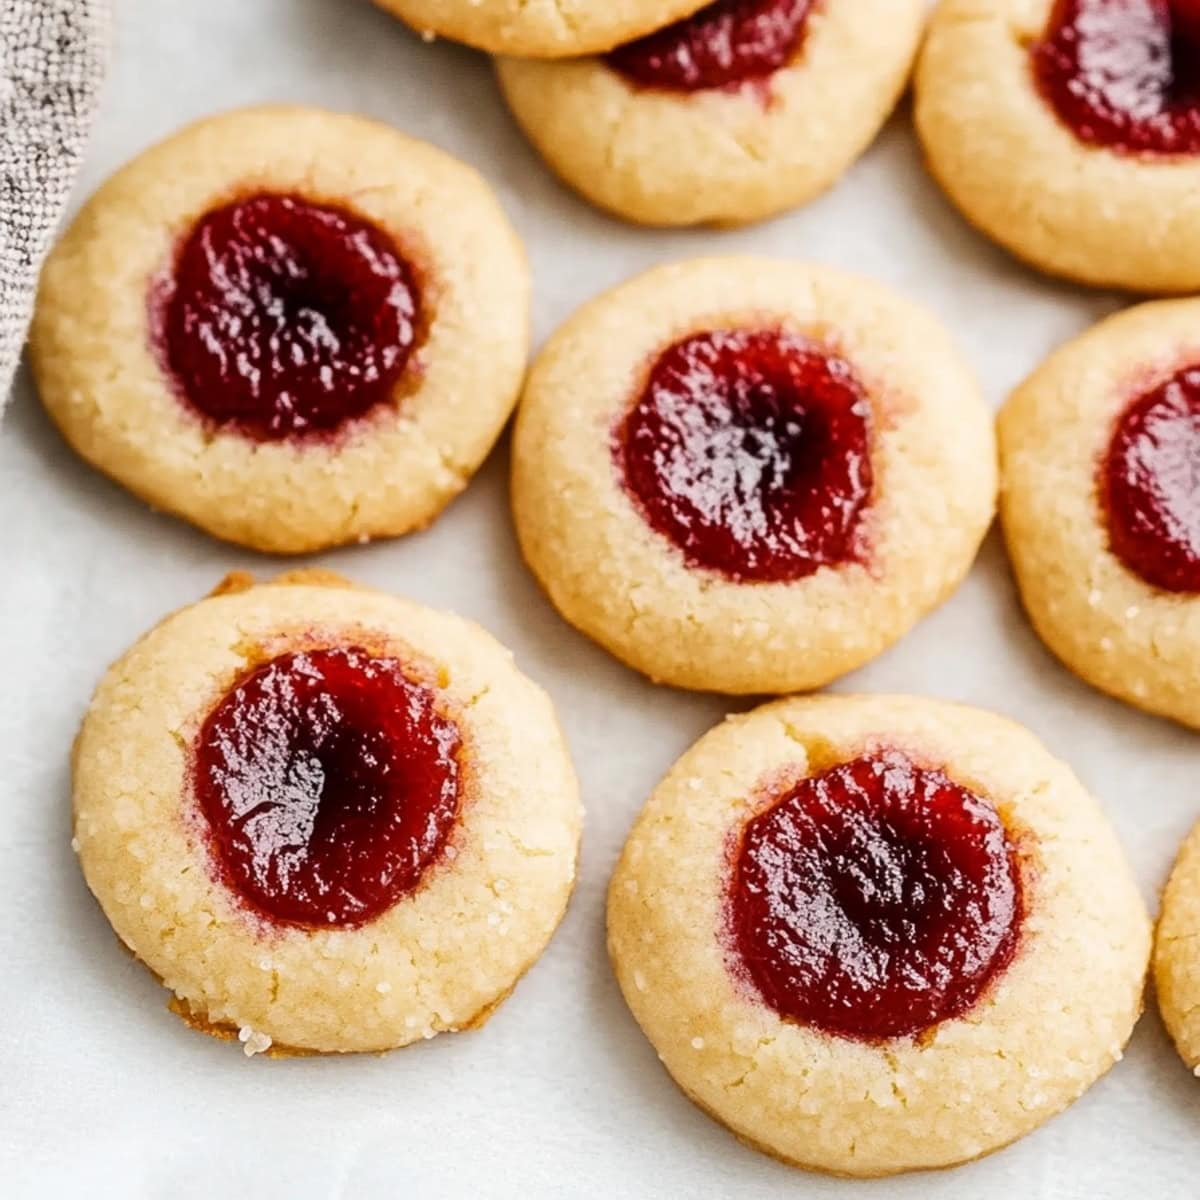
There’s something so satisfying about making these classic treats from scratch.
The buttery, crumbly cookie base pairs perfectly with the sweet, fruity jam center.
Check out these easy steps:
- WHISK the flour, cornstarch, and salt. Set aside. 2. BEAT the butter, brown sugar, and 1/4 cup of granulated sugar until light and fluffy. Blend in the egg yolk and vanilla until smooth. 3. MIX in the flour mixture by hand until the dough comes together. 4. SCOOP tablespoons of dough, roll into 1-inch balls, and coat with the remaining sugar (optional). Place on a parchment-lined sheet. 5. PRESS a small indentation into each cookie and fill with 1/2 teaspoon of jam. Chill for at least 1 hour. 6. PREHEAT the oven to 350°F and prepare another baking sheet. 7. BAKE the cookies for 10-12 minutes until golden at the edges. Cool before transferring to a wire rack. Enjoy!
Tips for the Best Thumbprint Cookies
Thumbprints are one of those cookies that look impressive but are actually super easy to make.
Rolling the dough in sugar before baking gives them a sparkly, festive finish, so they’re perfect for holiday cookie trays.
Keep these tips in mind when making them:
Use softened butter. If it’s softened to room temperature, it’ll be easier to cream with the sugars.
Avoid overmixing. I like to add the flour by hand so the cookies aren’t tough.
Chill the dough. Pop it in the fridge right after making it, then again after shaping it. This will make it easier to handle and will keep the cookies from spreading.
Size the cookies evenly. Use a mini cookie scoop so they all bake evenly.
Don’t press too hard. If you make the indents too deep, the edges of the cookies will crack. Also, be sure not to overfill the indentations when adding the jam. If you do, it can spill onto the tray and burn.
Try flavor variations. Besides swapping the jams, you can also roll the cookies in finely chopped walnuts or pecans before adding the indents. You can also fill them with lemon curd or chocolate ganache instead of jam.
How to Store
These cookies taste great warm or chilled. So you don’t have to worry about reheating leftovers.
If you freeze them, just let them thaw a bit at room temperature before eating.
To Store: Place the cookies in an airtight container with parchment paper between the layers. Keep at room temperature for up to 5 days or in the fridge for a week. To Freeze: Place the cookies on a baking sheet and flash-freeze them until solid. Then, store in a freezer-safe bag or container for up to 3 months.
More Delicious Cookies You Have to Try
Frosted Eggnog Cookies Brown Butter Snickerdoodle Cookies Potato Chip Cookies Pumpkin Snickerdoodle Cookies
Thumbprint Cookies
35-40
20
12
105
Sweet, buttery thumbprint cookies filled with your favorite jam are the perfect bite-sized treats for any occasion. And they’re so easy to make!
Ingredients
- 2 1/4 cups all-purpose flour
- 2 teaspoons cornstarch
- 1/2 teaspoon salt
- 1 cup unsalted butter, room temperature
- 1/2 cup light brown sugar, packed
- 1/2 cup granulated sugar, divided
- 1 large egg yolk
- 2 teaspoons vanilla extract
- 1/2 cup jam
Instructions
- In a medium bowl, whisk the flour, cornstarch, and salt. Set aside.
- In a large bowl, beat the butter, brown sugar, and 1/4 cup of granulated sugar with an electric mixer on medium speed until light and fluffy, about 2-3 minutes. Blend in the egg yolk and vanilla until smooth.
- Stir the flour mixture in by hand until just combined. The dough will be crumbly at first but will come together as the mixing continues.
- Scoop rounded tablespoons of dough and roll into 1-inch balls. Roll each ball in the remaining 1/4 cup of granulated sugar until well coated (optional). Place the cookies on a parchment-lined baking sheet.
- Use your thumb or the handle of a wooden spoon to create an indent in the center of each cookie. Spoon about 1/2 teaspoon of jam into the space. Place the tray in the fridge for at least an hour or in the freezer for 30 minutes.
- Preheat the oven to 350 degrees Fahrenheit and line another baking sheet with parchment paper.
- Arrange the cookies over the baking sheets with 1-2 inches between them. Bake for 10-12 minutes, until the edges are lightly golden brown. Let the cookies cool on the baking sheets for 5-10 minutes before transferring to a wire rack to cool completely. Enjoy!
Notes
Avoid overfilling the cookies with jam, as it can burn if it bubbles over onto the tray.
Chill the dough after making it and again after shaping it. Also, keep any unbaked cookies in the fridge when not baking.
For a nuttier flavor, roll the cookies in finely chopped walnuts or pecans.
Share on Facebook
Share on Pinterest
