


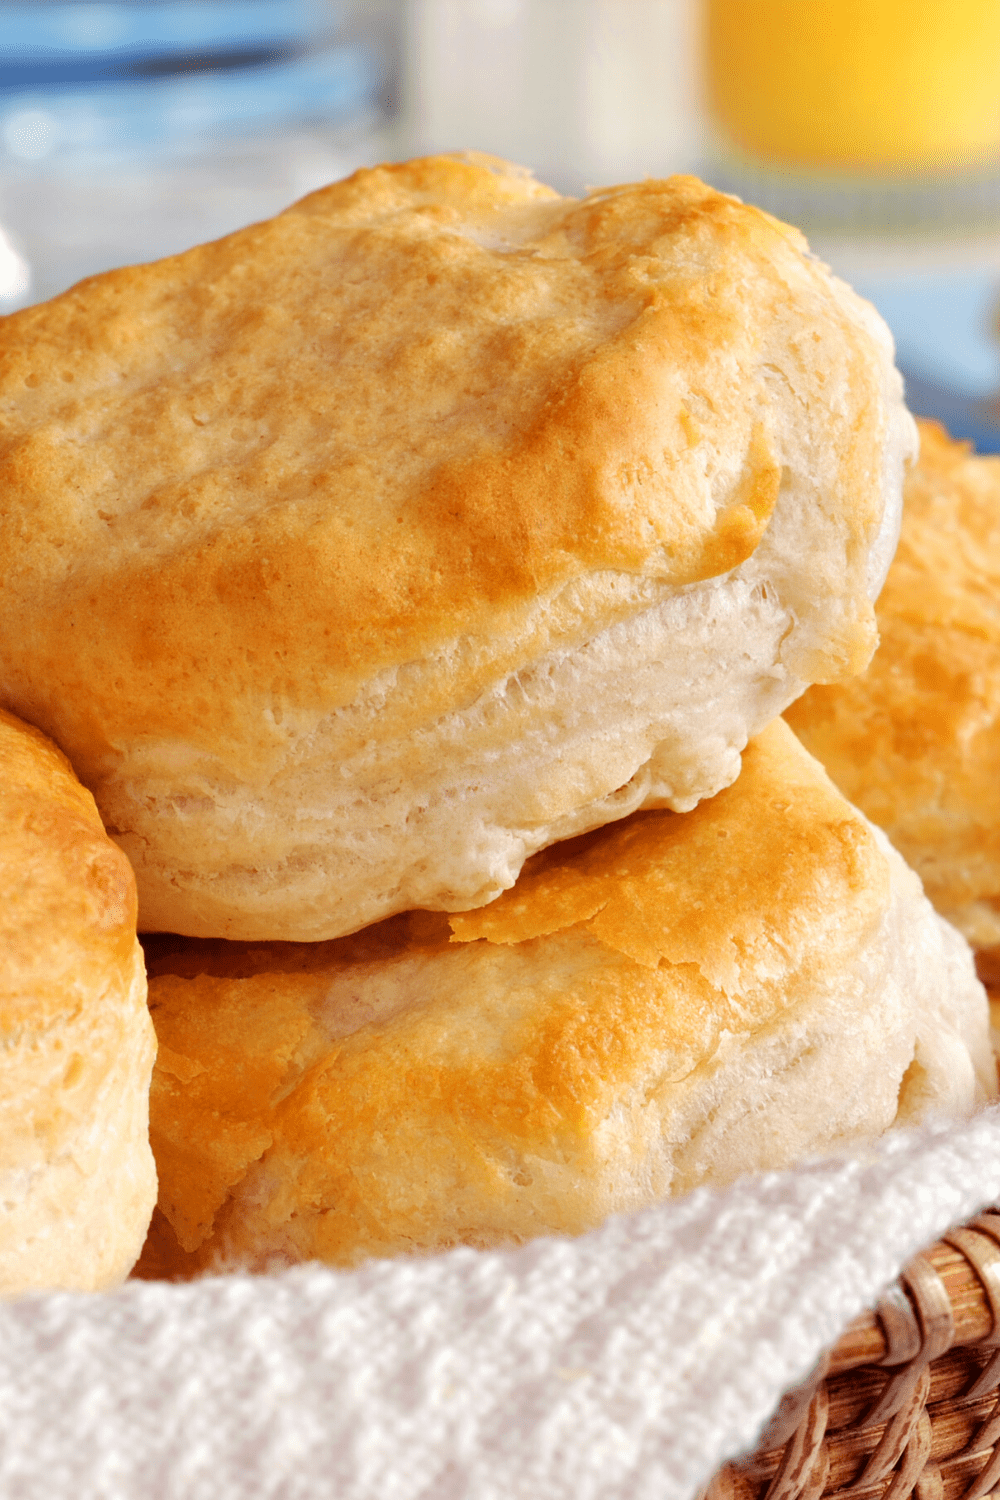
These melt-in-your-mouth no milk biscuits are so tender and light without a single drop of milk.
It’s proof that you don’t need dairy to create flaky biscuits.
While homemade bread seems intimidating, biscuits are as easy as pie. Just mix, roll, and bake. Easy peasy.
So the next time you have a hankering for warm homemade bread, try these no-milk biscuits!
WANT TO SAVE THIS RECIPE?
Enter your email below & we’ll send it straight to your inbox.
What Are No Milk Biscuits?
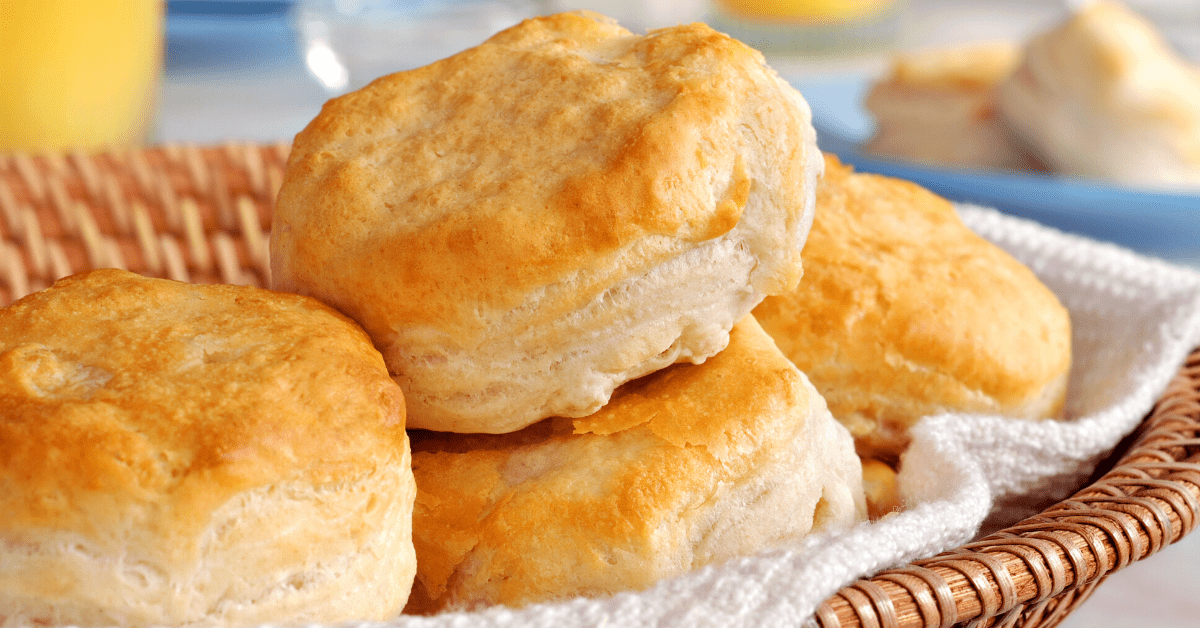
No milk biscuits are biscuits exactly as they sound. It’s a simple biscuit recipe that does not use butter or milk.
I know, it sounds a little strange. How can you create buttery biscuits without butter? Trust me, this recipe works!
These biscuits are so good, you won’t even realize they lack these seemingly crucial ingredients.
Ingredients
What I love most about this recipe is it only requires a few pantry staples. Here’s everything you’ll need.
All-purpose flour. No fancy flour is needed. All-purpose is a great choice for fantastic biscuits.
Baking powder. The baking powder gives these biscuits a generous rise in the oven.
Salt. A pinch of salt delivers flavor and also strengthens the flour so your dough binds together.
Shortening. You can, of course, use butter. But since these are dairy-free, we’re using shortening.
Water. Traditional recipes use milk to create a soft dough, but today, we’re using water. It’s the liquid component that fuses everything together.
How To Make No Milk Biscuits
All it takes are five basic ingredients, 4 easy steps, and 30 minutes of your time.
Check out how quickly these biscuits come together! Don’t worry, I’ll get into more detail at the bottom of the page.
- Make the dough. In a large mixing bowl, combine flour, baking powder, salt, and shortening until crumbly. Then, slowly mix in the water until it comes together in a shaggy dough. 2. Cut the biscuits. Press the dough together on the counter, fold it over to create layers, then cut the biscuits with a cookie cutter (not a glass). 3. Chill. Pop the biscuits onto a tray and chill for 30 minutes. This helps with the flaky texture in the end. 4. Preheat the oven to 425 degrees Fahrenheit. 5. Bake. If needed, spread the biscuits over 2 baking trays. Brush with dairy-free butter (optional), then bake for 15-20 minutes. 6. Dig in! Let the biscuits cool for a few minutes then enjoy!
Tips and Tricks
Here are some great tips and tricks to take these homemade biscuits over the top!
Quality is key. With so few ingredients, be sure to use high-quality flour, baking powder, and shortening. It makes a big difference!
Check those expiration dates. Always check the expiration date of your baking powder, especially if you don’t use it often. Expired baking powder yields flat, dense hockey pucks!
Spoon and level the flour. If you dump your measuring cup right into the flour, you’ll end up with more flour than you need. Instead, spoon the flour into the cup and level it off with a knife.
Sift it, too! This is an easy step to ensure your biscuit dough isn’t lumpy. After measuring the flour, pour it through a sifter so there are no stubborn lumps.
Do not overmix. Be gentle when mixing the ingredients. You do not want to over-mix the dough because that will make tough and dense biscuits.
Create a golden crust. Want your biscuits to earn a golden top in the oven? Before baking, brush them with a little dairy-free butter.
Add fresh herbs. A tablespoon of your favorite herbs will make your biscuits smell and taste so much better. I love adding thyme, chives, garlic powder, and rosemary to mine.
Make them healthier. Instead of all-purpose flour, you may also use whole-grain flour. It gives you the same great flavor but is also a lot healthier. Use whole wheat pastry flour for lighter and more tender biscuits.
How to Store
While biscuits are best right out of the oven, leftovers are easy to store. Follow these tips to have homemade biscuits on hand for breakfast this week!
To Store. Keep cooled leftovers in an airtight container at room temperature for 2 days, or pop them in the fridge for up to 4 days. To Freeze. Freeze cooled biscuits on a tray until solid. Then place in a freezer bag for up to 3 months. When ready to eat, thaw them in the fridge overnight.
No Milk Biscuit Recipe (Dairy Free)
12
10
15
175
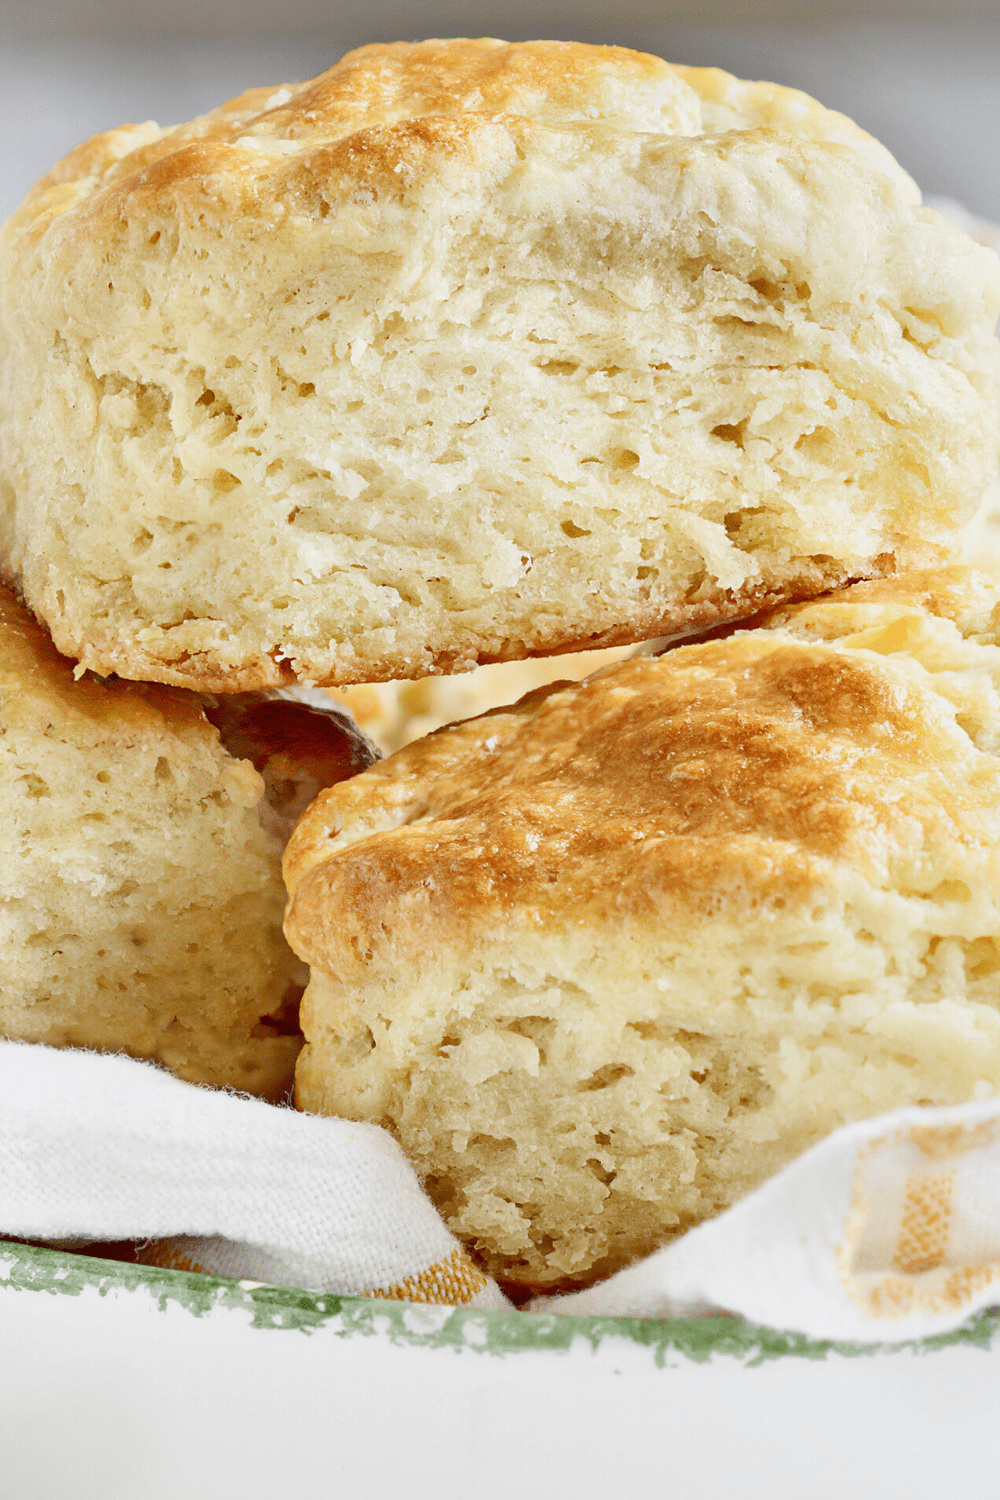
These no-milk biscuits are golden on the outside and light and fluffy inside. This vegan biscuit recipe proves you don’t need dairy for amazing bread!
Ingredients
- 3 cups all-purpose flour
- 3 teaspoons baking powder
- 3/4 teaspoon salt
- 12 tablespoons shortening, cold (3/4 cup)
- 1 cup water, cold
Instructions
- In a large bowl, mix the flour, baking powder, and salt until evenly combined. Add the cold shortening and blend with a pastry cutter or your fingers until crumbly.
- Slowly add the water and mix with a knife or fork until the dough comes together. It should be shaggy – not a smooth ball. You might not need all the water.
- Turn the dough onto a lightly floured surface and gently press it together. Pat into a rectangle, then fold it over and press it again until it’s about 1 inch thick.
- Cut the biscuits with a cookie cutter to ensure sharp edges, then transfer them to a parchment-lined baking sheet. Refrigerate the tray for 30 minutes.
- Preheat the oven to 425°F. If needed, line a second baking sheet with parchment paper. The biscuits should be about 3 inches apart to allow for growth.
- Optional: brush the tops of the biscuits with dairy-free butter.
- Bake for 15-20 minutes or until the tops are golden and a toothpick inserted in the center comes out with a few moist crumbs.
- Let the biscuits cool for 5 minutes, then serve and enjoy!
Notes
Don’t use a glass to cut the biscuits. The blunt edge will squash the layers and keep the biscuits from rising properly.
Share on Facebook
Share on Pinterest
